
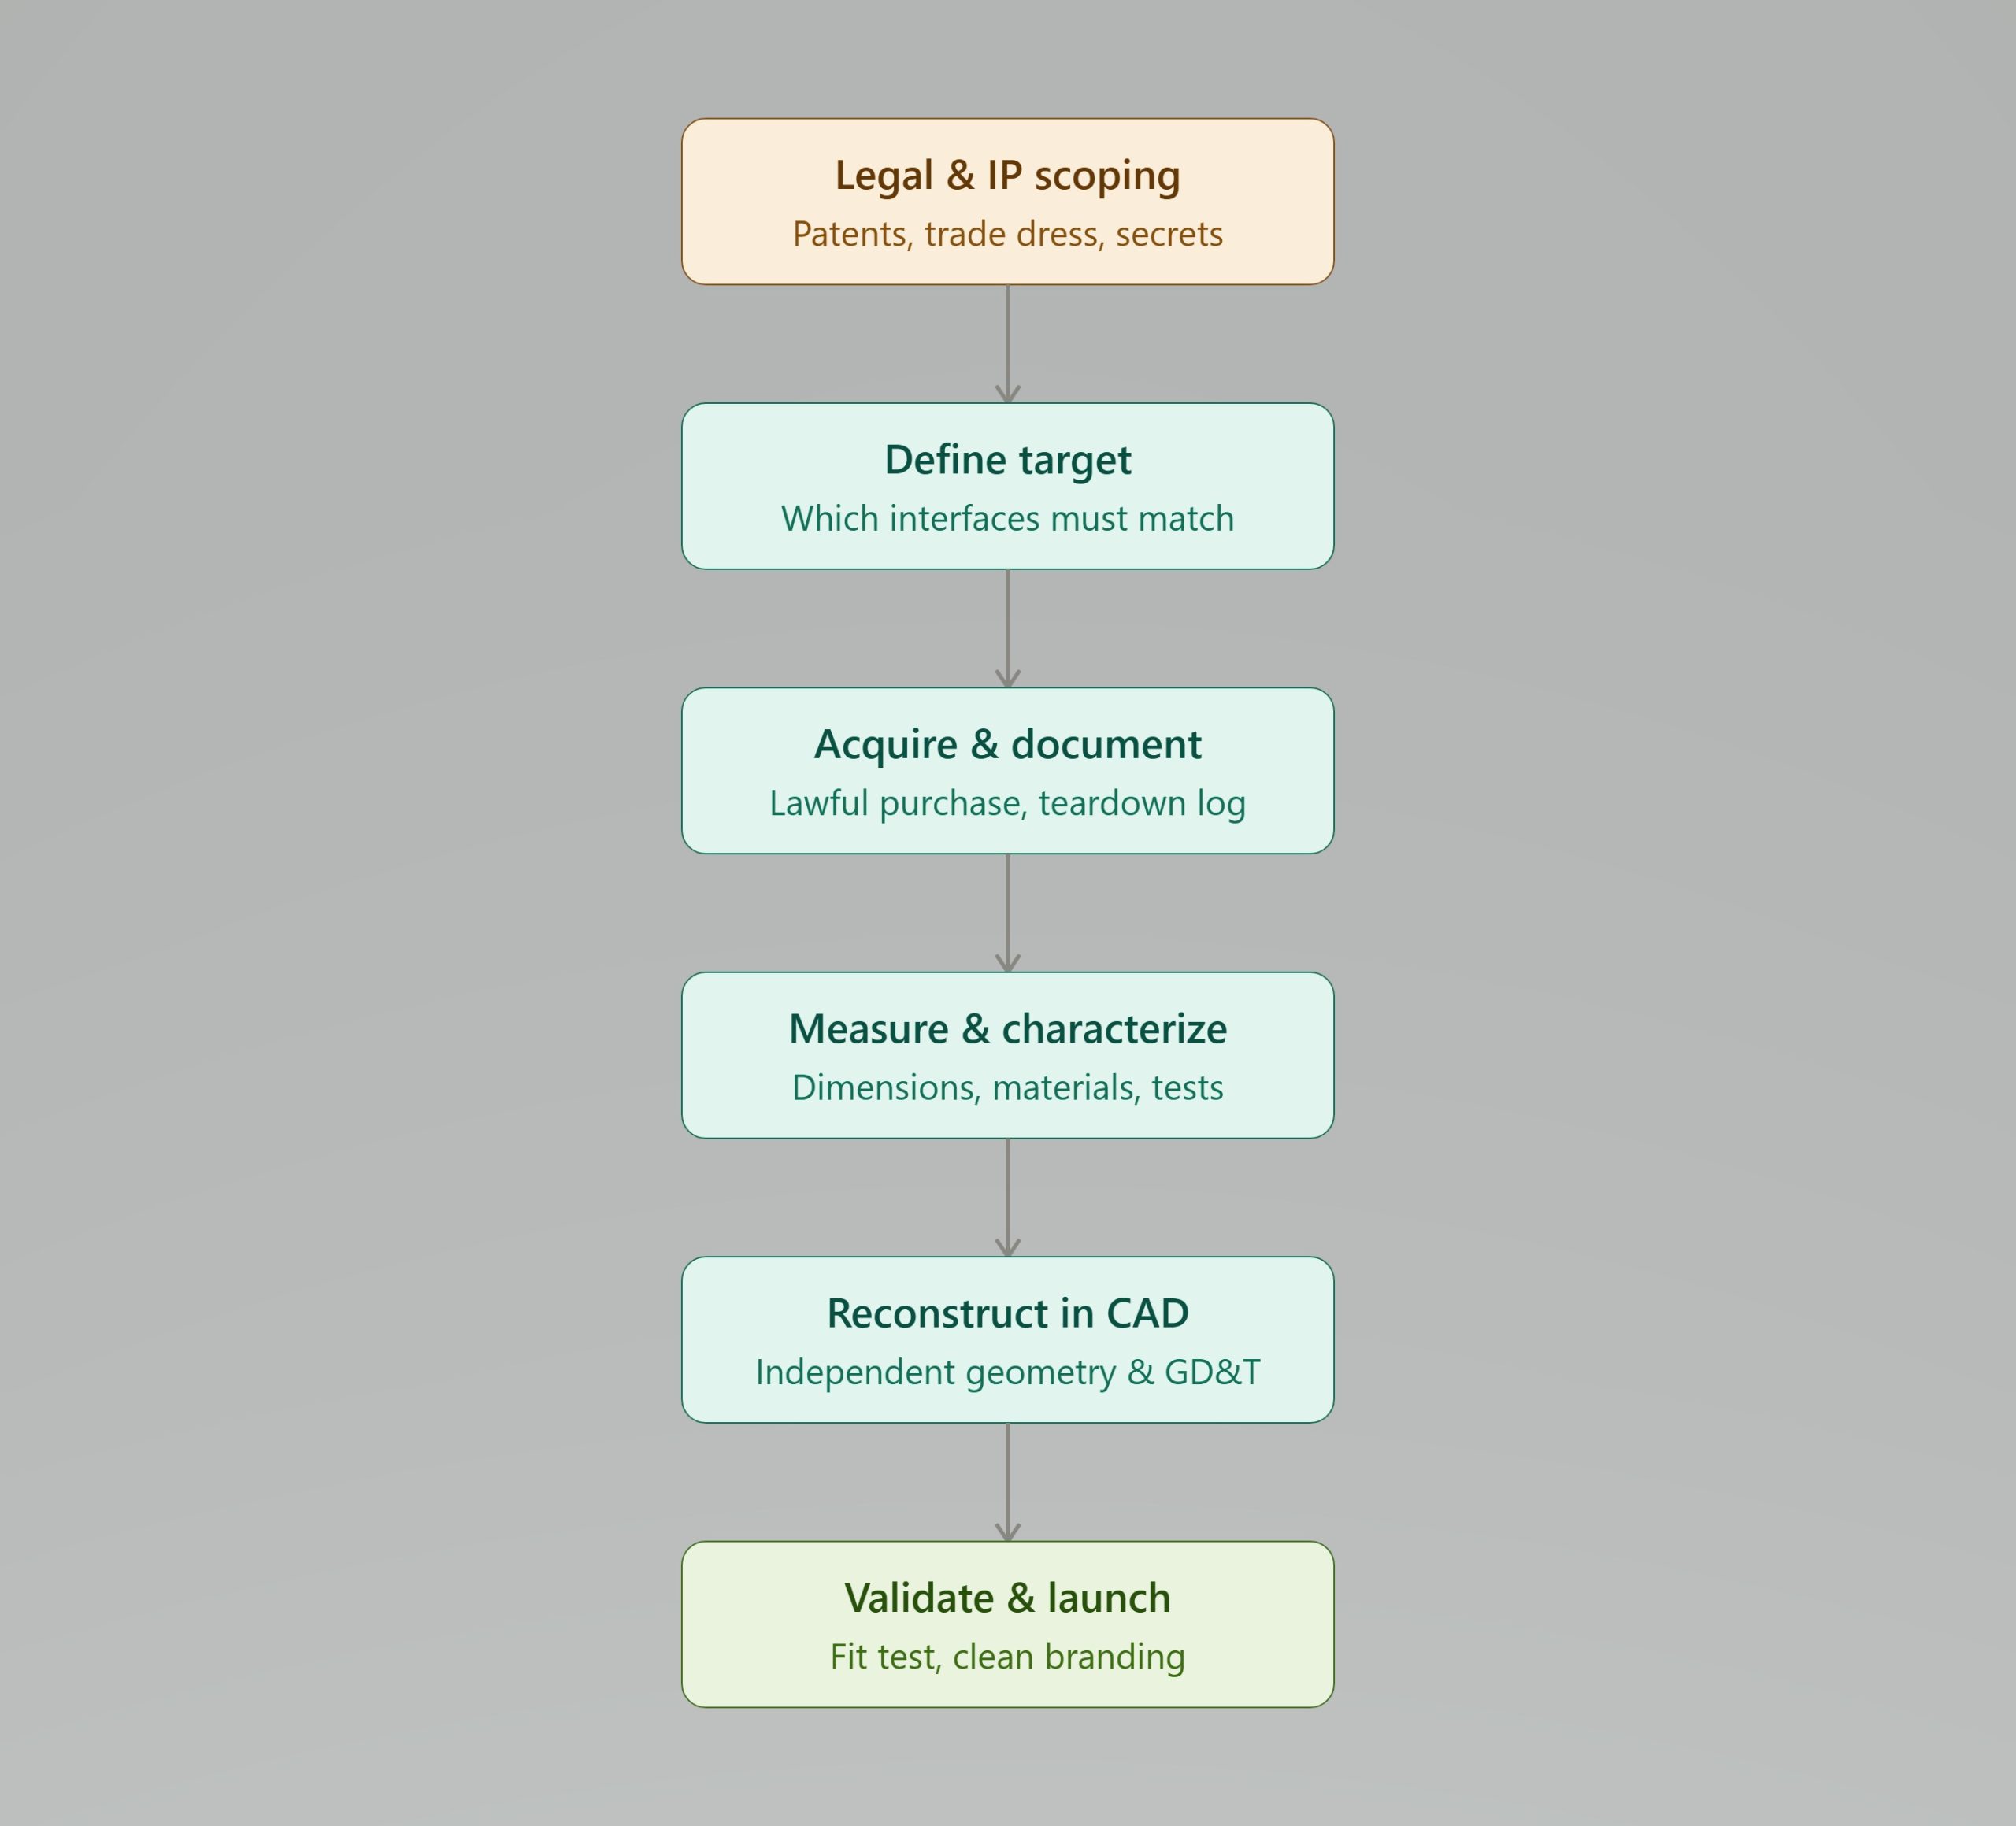
Reverse Engineering for Compatibility: A Practical Framework for Building Interoperable Mechanical Products
Introduction
For manufacturers, aftermarket suppliers, and consultancies serving MENA and Gulf industrial clients, reverse engineering is one of the fastest legitimate routes to market for compatible parts, accessories, and replacement components. Done properly, it is not about copying someone else’s product — it is a disciplined engineering process for understanding how an existing product works so you can build something that fits, functions, or interoperates with it, without infringing the rights the original manufacturer holds.
This article lays out a defensible, repeatable process: how to plan the work, collect accurate specifications, reconstruct a usable blueprint, and validate the result — while staying inside the legal boundaries that separate “reverse engineering” from “counterfeiting.”
- Set the Legal Frame Before You Touch the Product
This is the step most teams skip, and the one that determines whether the rest of the project is defensible.
- Patents protect a specific claimed invention (a mechanism, a method). If the original part is patent-protected, a compatible product must design around the claims, not replicate them.
- Trade dress / design registrations protect the distinctive visual appearance of a product. A compatible part generally needs to avoid copying ornamental features that aren’t functionally required.
- Copyright can cover manufacturing drawings, manuals, and software/firmware — copying the documents themselves (not just the physical dimensions they describe) is a separate risk from measuring the physical object.
- Trade secrets are not protected once a product is legitimately purchased and studied — this is the legal basis for reverse engineering itself in most jurisdictions, including Egypt and most GCC states, provided the product was lawfully acquired and not obtained through breach of contract or NDA.
Practical rule of thumb: measuring and replicating functional geometry (the parts that must match to fit or work) is low risk; copying branding, ornamental design, or proprietary documentation is high risk. When in doubt, get local IP counsel to review the target product’s patent and design-registration status before committing engineering hours.
- Define the Interoperability Target
Before teardown, write down exactly what “compatible” means for this project:
- Which interfaces must match exactly (mounting points, threads, connectors, tolerances)?
- Which properties can differ (materials, finish, internal construction) as long as the interface performs the same?
- What is the performance envelope the replacement must meet (load, torque, pressure, cycle life)?
This scoping step keeps the engineering effort focused on the interface, not a full clone of the product — which is both cheaper and legally cleaner.
- Acquisition and Documentation
- Acquire the reference unit through normal commercial channels and keep the purchase record. This establishes lawful possession, which matters if provenance is ever questioned.
- Photograph and log the unit before any disassembly: serial numbers, markings, packaging, and overall condition.
- Disassemble methodically, documenting each step (photos, torque values, fastener types, assembly order) so the teardown itself becomes part of your specification record.
- Dimensional and Geometric Data Collection
This is where the “blueprint” gets built.
Method | Best for | Typical accuracy |
Calipers / micrometers / gauges | Simple dimensions, quick checks | ±0.02–0.05 mm |
Coordinate Measuring Machine (CMM) | Critical interface tolerances | ±0.005–0.01 mm |
3D laser or structured-light scanning | Complex/organic surfaces, full point clouds | ±0.02–0.1 mm |
Photogrammetry | Large parts, low-cost surface capture | Moderate |
CT scanning | Internal geometry, hidden features, assemblies | High, non-destructive |
The output of this stage should be a point cloud or mesh plus a table of critical dimensions with tolerances — not a guess at “close enough.”
- Materials and Performance Characterization
- Materials identification: spectroscopy (XRF/EDS) for metals, FTIR for plastics, to identify alloy or polymer family.
- Mechanical testing: hardness, tensile, or fatigue testing where the interface is load-bearing.
- Functional benchmarking: run the original part through the performance tests your compatible product will need to pass — this becomes your target spec, not a copied spec.
Document material findings as performance requirements (“must withstand X load, Y temperature range”) rather than as a literal materials copy. This keeps your specification defensible as independently derived engineering, focused on function rather than replication.
- Reconstructing the Blueprint (CAD)
- Rebuild the geometry in CAD from your measured data — do not trace or import any manufacturer-supplied drawing or digital file, which would raise a direct copyright issue.
- Apply engineering judgment during reconstruction: fillets, draft angles, and tolerances should reflect sound design practice for your manufacturing process, not a pixel-perfect copy of the scan.
- Generate a full GD&T (geometric dimensioning and tolerancing) drawing package, bill of materials, and interface control document. This is your deliverable specification set.
- Independent Design Validation (“Clean Documentation”)
Where the commercial stakes are high, many companies separate the teams: one team measures and documents the original (Team A), a second team designs the compatible product using only Team A’s functional specification, without ever handling the original part. This “clean room” approach is a recognized best practice for reducing the risk of a claim that your design was copied rather than independently engineered to a spec.
- Prototype and Fit Validation
- Build a prototype and test it against the actual interface (not just your own drawings) to confirm real-world compatibility.
- Run the same functional and durability tests used in Step 5 to confirm the compatible product meets or exceeds the benchmark.
- Iterate the tolerance stack-up if fit issues appear — small deviations at the interface are the most common cause of aftermarket compatibility failures.
- Commercial and Marketing Diligence
- Avoid using the original manufacturer’s logos, model numbers as your own branding, or packaging that could create consumer confusion (“passing off”).
- “Compatible with [Brand] Model X” nominative use is generally acceptable in most jurisdictions when used descriptively and not in a way that implies endorsement — but phrasing should be reviewed against local trademark law.
- Keep your full documentation trail (purchase records, measurement data, independent CAD, test reports). This is your evidence of a legitimate reverse-engineering process if the originating manufacturer ever challenges the product.
A Note on Where the Line Sits
Reverse engineering for compatibility is a well-established, legal practice across manufacturing, automotive aftermarket, consumer electronics accessories, and industrial spare parts — and it’s a core capability for building a strong local supply chain in MENA/Gulf markets where OEM parts are often expensive or slow to import. The line that matters is between:
- Engineering to an interface spec (legitimate) vs. replicating the whole product, its branding, and its proprietary documentation (high legal risk).
Building the internal discipline described above — scoping, lawful acquisition, independent measurement, functional (not literal) specification, and clean documentation — is what turns reverse engineering from a legal gray area into a defensible, repeatable operational capability.
This article provides general engineering process guidance and is not legal advice. Patent, trade dress, and trademark exposure should be assessed by qualified IP counsel in the relevant jurisdiction before commercializing any compatible product.
